Mike took on the job of creating the loft design himself and he produced the final blueprint that was the basis for what we live with today using none other than Powerpoint – yes the humble Microsoft app.
Starting out
We had gone down the traditional route of finding an architect to design the loft space for us. While lovely, the architect tried to make the space a bit too, well, designery for our liking. Think curved bathroom walls, a massive open plan bedroom, virtually nothing in it. This all sounded lovely but not quite as functional as we were hoping for.

Mike Steps in
Instead, Mike took to Powerpoint to create the eventual designs that were used for the loft renovation. It took a lot of tinkering. The process went something like this:
- Take the original drawings of existing loft conversion
- Take the new, proposed floor space of the extension (the L-shaped dormer)
- Draw out a blank canvas in Powerpoint to scale
- Play around with the space in Powerpoint
- Decide what we want (see below)
- Play around some more on Powerpoint
- Finalise the plans
Final Decisions for the Loft Design
Tinkering around with the new floorplan really helped us determine what we wanted after many discussions, and made the process of designing the final loft space much easier.
What you can see in the final design – and what we’ve ended up with – is as follows:
- A master bedroom facing the garden with a balcony & sliding doors
- We knew we wanted a space just for sleeping, with virtually no furniture in
- We wanted to be able to lie in bed and look out over the garden and the treetops (dreamy)
- We wanted a skylight above the bed to let in even more light
- A wardrobe area/walk-in wardrobe/dressing area, call it what you will
- We wanted to keep this separate from the sleeping area partly to reduce stress from mess (ahem) and partly to encourage us to reduce said mess. If in doubt, shove the clothes round the corner and ignore!
- We also wanted a space to dress with a skylight in for lighter mornings to let natural light in
- An ensuite
- This was a pretty big non-negotiable. Mike was absolutely adamant that he wanted a walk in shower with a skylight overhead.
- My non-negotiable was his’n’hers sinks in the bathroom.
- We both managed to get what we wanted out of the space!
- Lastly, a spare bedroom (also double)
- This was to serve as Mike’s office so needed to have enough space to fit a double bed and a desk in
A couple of extra bits and pieces:
- We made use of pocket doors: One into the ensuite and one into our room.
- This obviously ate up internal wall space so something to consider when designing (ie. take into account the wall thickness)
- However, the trade-off is the freeing up of wall space on the outside where you don’t have a door being opened, giving the whole space a clean finish!
- The bathroom had to be positioned in the outrigger:
- Putting it at the front eaves as we’d originally intended meant there wasn’t enough headroom
- We also wouldn’t have been able to have a skylight
- All in all it made sense to us to have an ensuite anyway so in the outrigger it went.
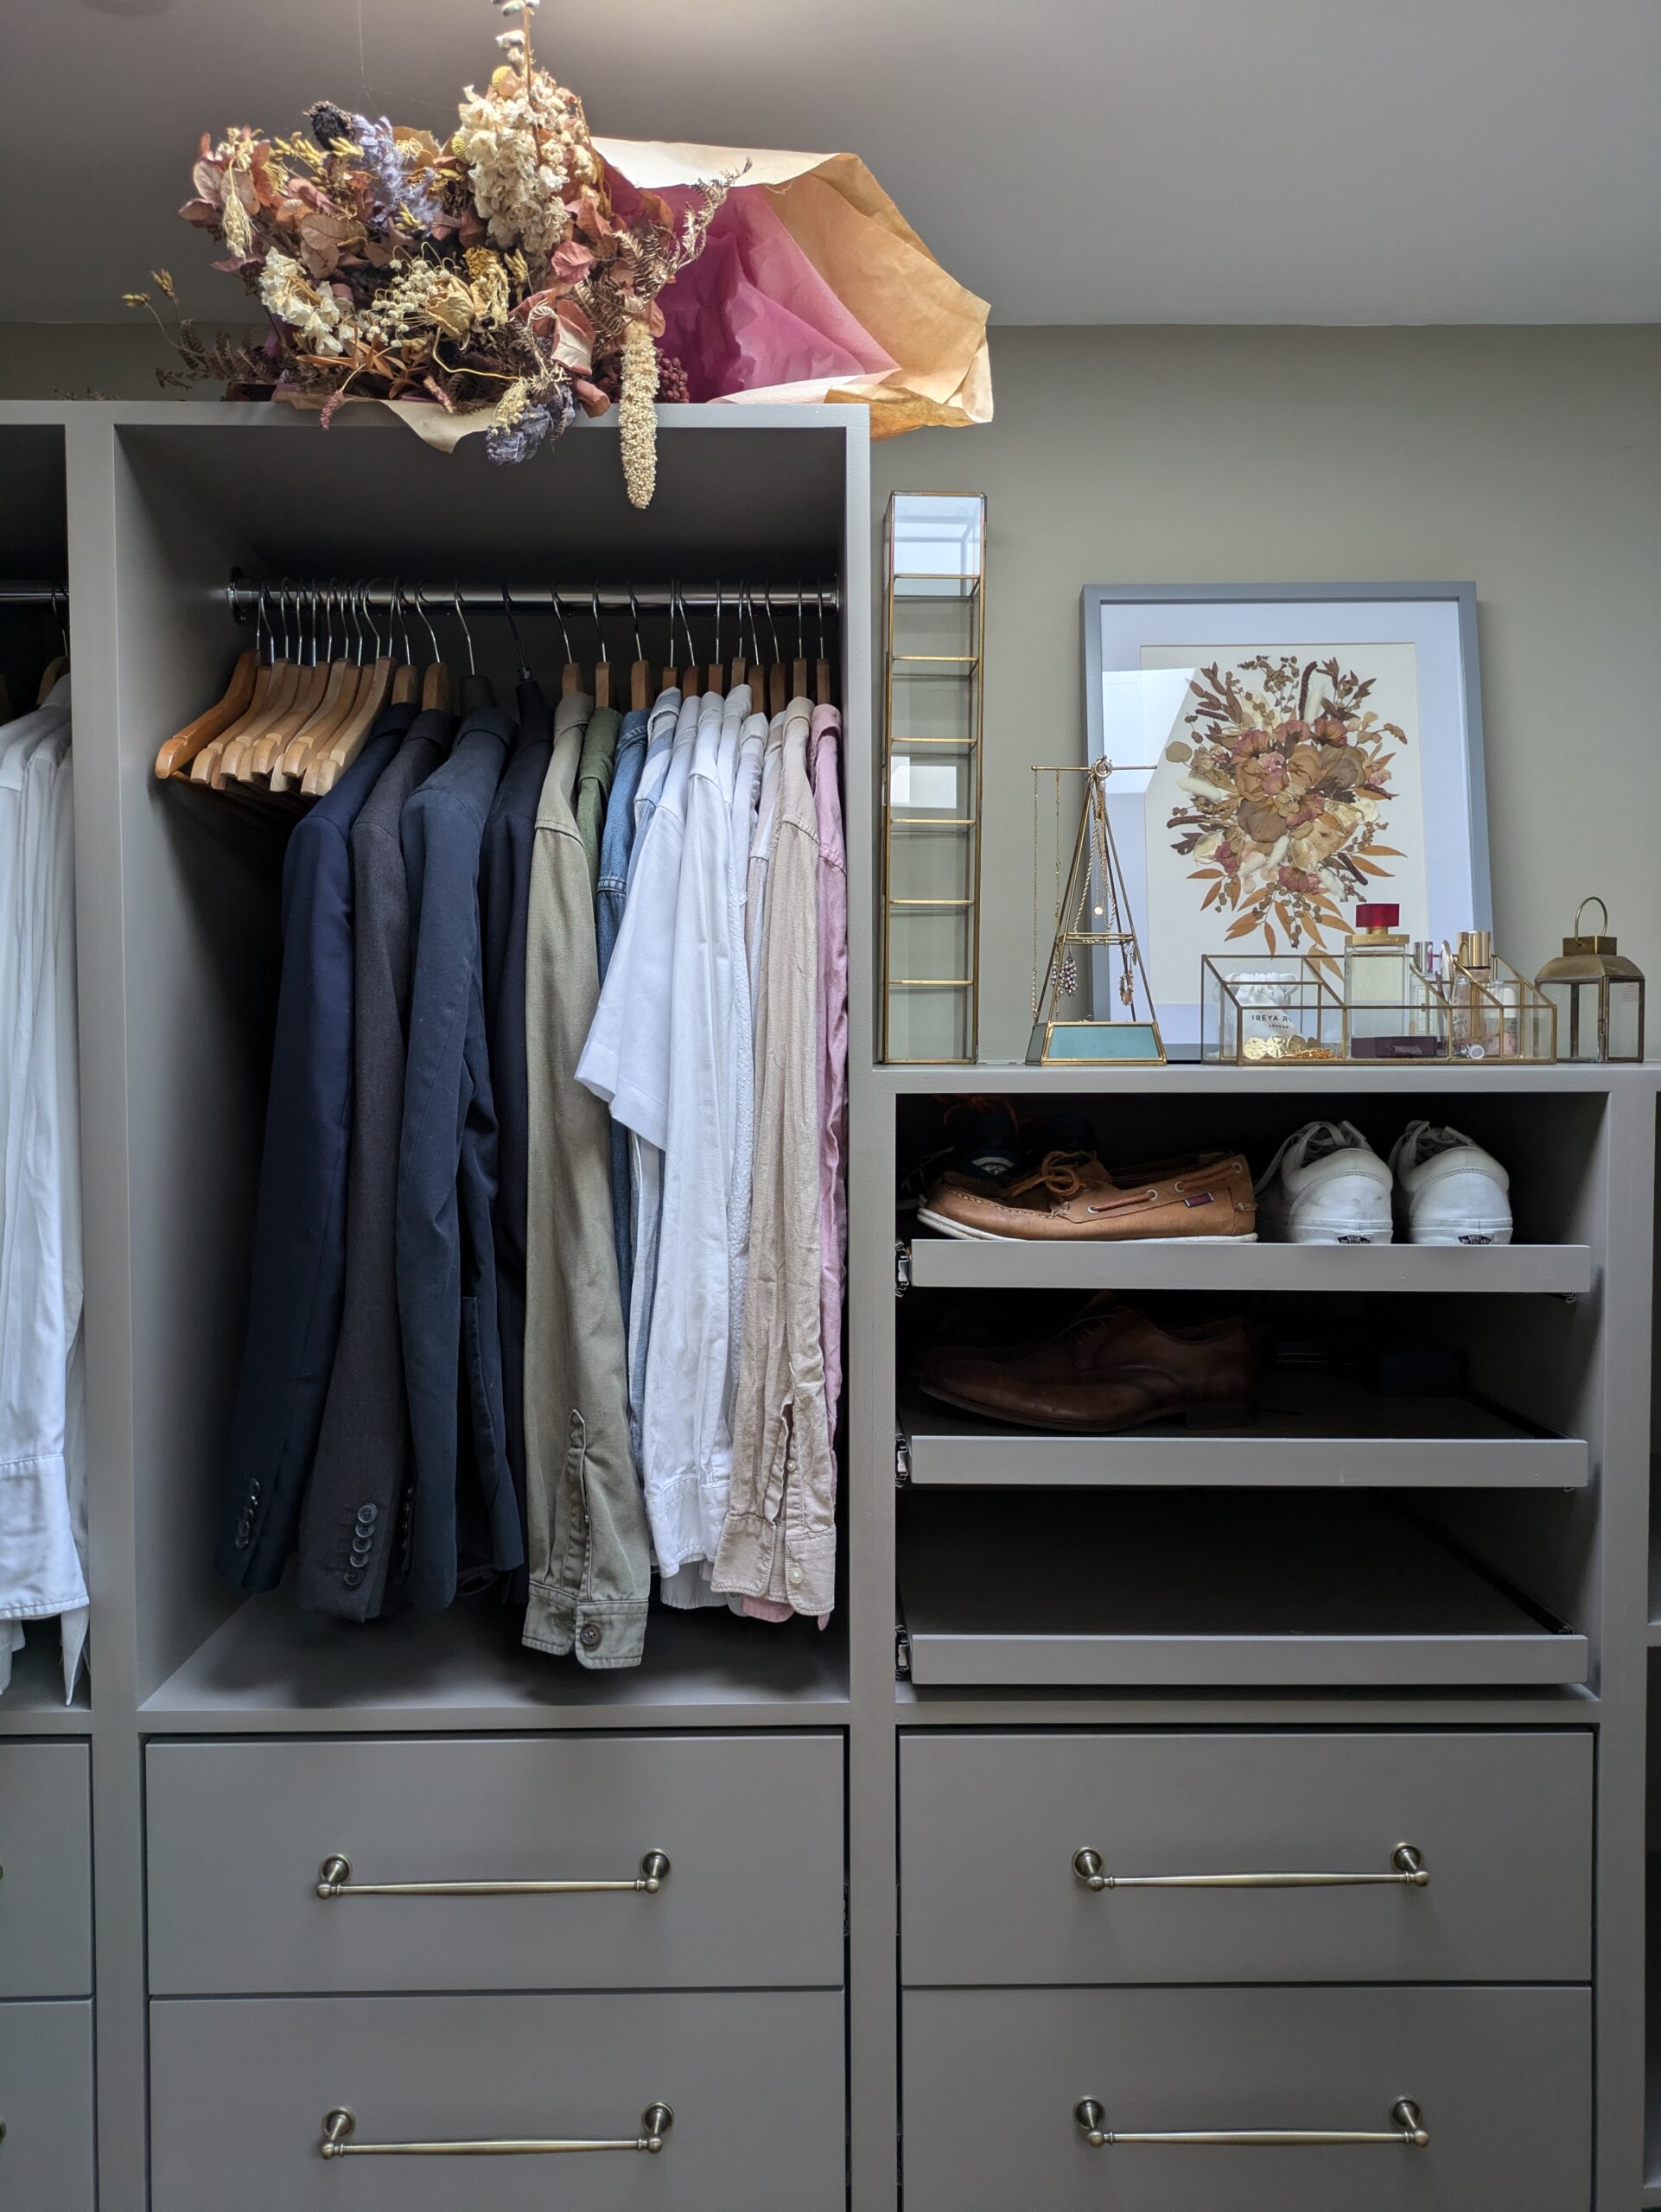
- Mike designed the wardrobe area himself. Given the lower ceilings in the loft space we didn’t want floor to ceiling cupboards but something more open plan to keep it light and breezy. More on this later.
Design ready, its time to build!
With all of our criteria finally agreed upon, Mike finalised the plans in Powerpoint and sent them off to our builders to make sure this was all doable – and it was, hurrah!
So there you go. It turns out that designing the loft – or any new space in your home in fact – requires little more than some Powerpoint skills, patience, and a bit of problem solving to squeeze everything in.


